Alexa Lane | Motivational Speaker and Author
Performing Arts, Natural Healing, and Spirituality
Anatomy of Pointe Shoes
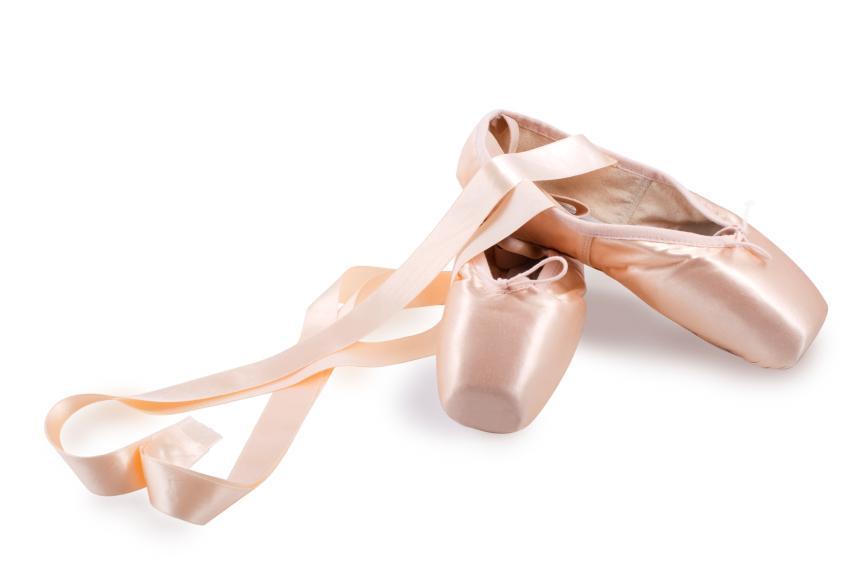
Dancing en pointe for the first time is very exciting. However, wearing perfect fitting pointe shoes is essential to avoid injury. Finding pointe shoes that are the right size and support the dancer’s particular anatomy is imperative. Therefore, I advise all dancers to go to a dancewear store to get professionally fitted for pointe shoes.
Below are the general components of a pointe shoe.
Vamp
The vamp on pointe shoes refers to the part of the shoe that envelops the toes and the front of the foot. Regarding an ideal size, dancers can purchase pointe shoes with a vamp the same length as their toes. For example, dancers with longer toes can purchase pointe shoes with greater length in the vamp.
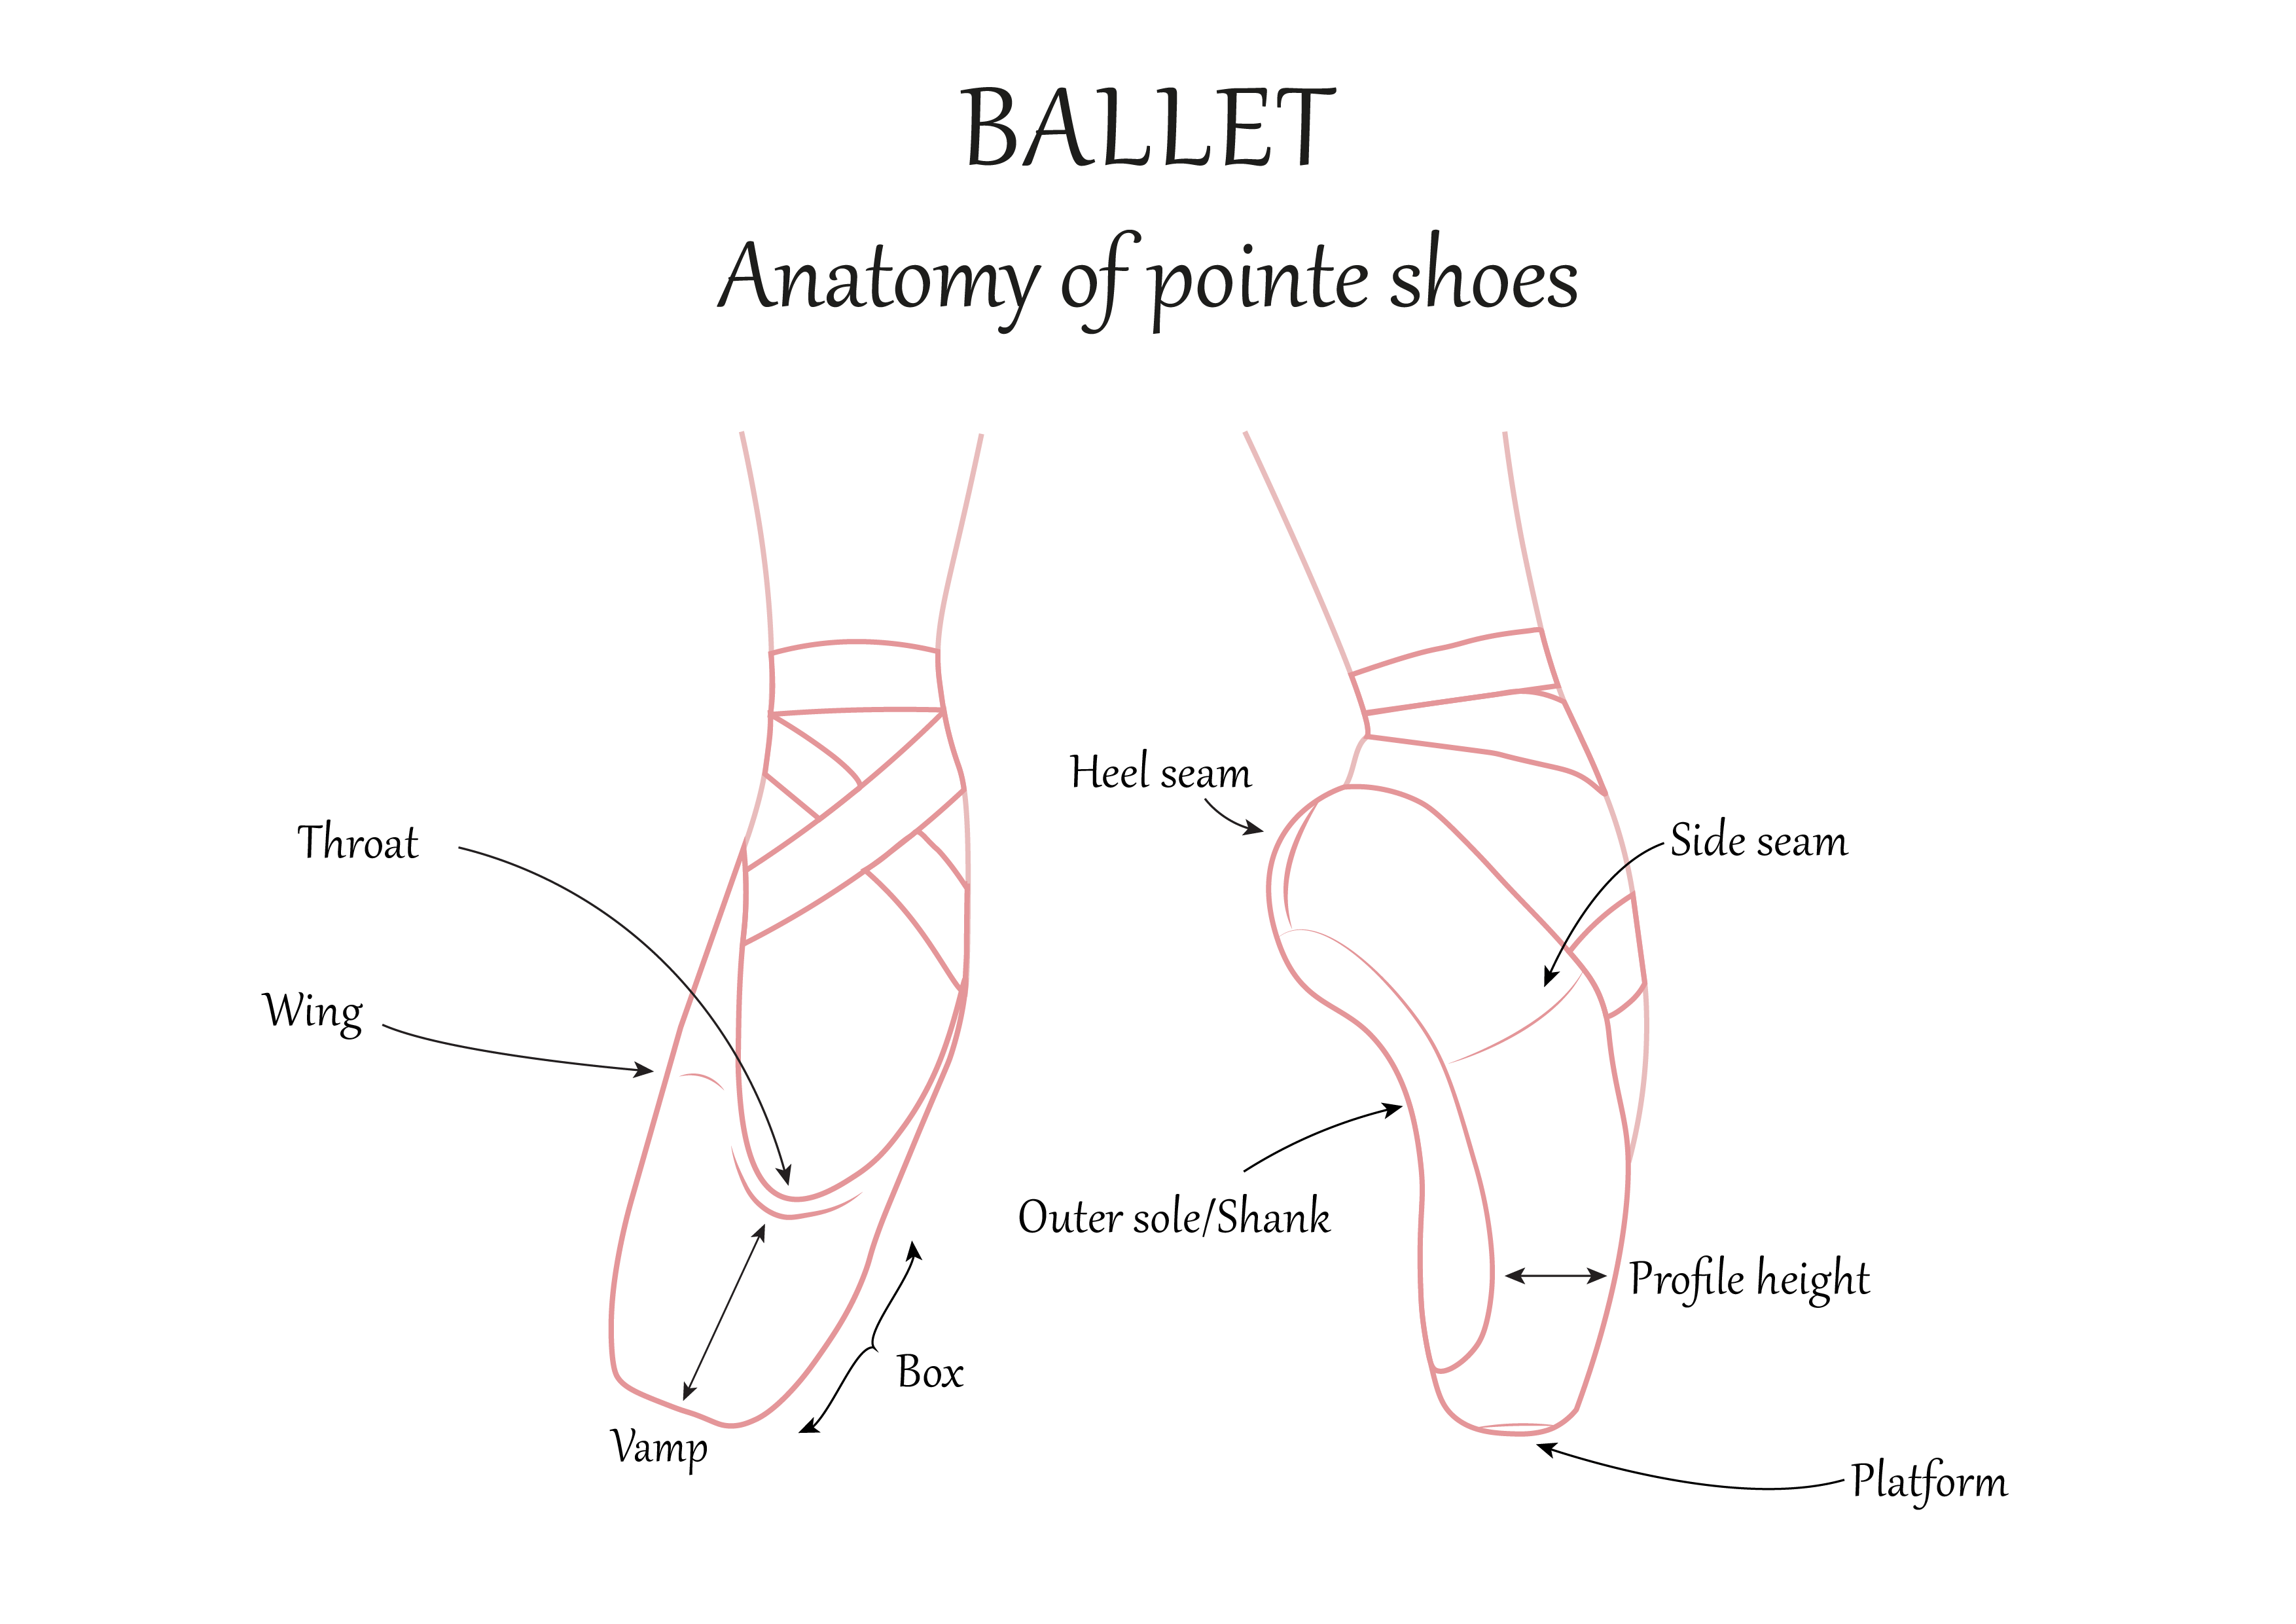
The Box
The box envelops the toes. Regarding an ideal fit, the box has an assortment of structures that range from a square to a tapered box.
Platform
The platform is the top part of a pointe shoe that enables the dancer to execute pointe work (en pointe).
Profile Height
The profile refers to the height of the shoe and can be high or low. A high profile pointe shoe box appears to have a cylindrical shape and a larger space between the outer sole and the vamp. A low profile appears flatter and has a small space between the outer sole and the vamp.
Outer Sole
The bottom part of the pointe shoe that touches the floor.
Shank
The shank is the supportive insole.
Wing
The wings are an extension of the vamp on each side of the point shoe. The wings provide support.
Throat
The opening of the pointe shoe is the throat and is closest to the toes.
Side Seam
The side seam joins the front and the back of the pointe shoe.
Heel Seam
The heel seam is in the back of the pointe shoe. It divides the quarters that are behind the side seam.
The 7 Movements of Dancing
The seven movements of dancing provide fundamental dance terminology for beginning students.
- Plier: To bend
Plier describes the motion of flexing the knee or knees.
- Relever: To raise, rise, or lift
The dancer rises to the balls of the feet and moves into demi-pointe.
- Glisser: To glide
The dancer performs a motion that glides across the floor. From fifth position, bend the knees (plié) and brush one foot a few inches off the ground. Transfer your weight onto this foot. Slide the opposite foot into fifth position and bend the knees (plié).
- Sauter: To jump
A jumping movement. From plié, push off the floor. Point your toes, engage your leg muscles, and land in plié.
- Tourner: To turn around
The dancer performs steps that involve turning. An example is a pirouette.
- Étendre: To stretch
The dancer performs a stretching movement that involves lengthening the leg by stretching the knee, ankle, foot, and toes.
- Elancer: To dart
The dancer performs movements in a darting manner. An example is the step sissonne.
Five Positions of Dance
The Five positions of dance initiate many movement patterns. When working in these positions, maintain lateral rotation from your hip joints. Evenly distribute the weight of your body over your toes, balls of your feet, and your heels.
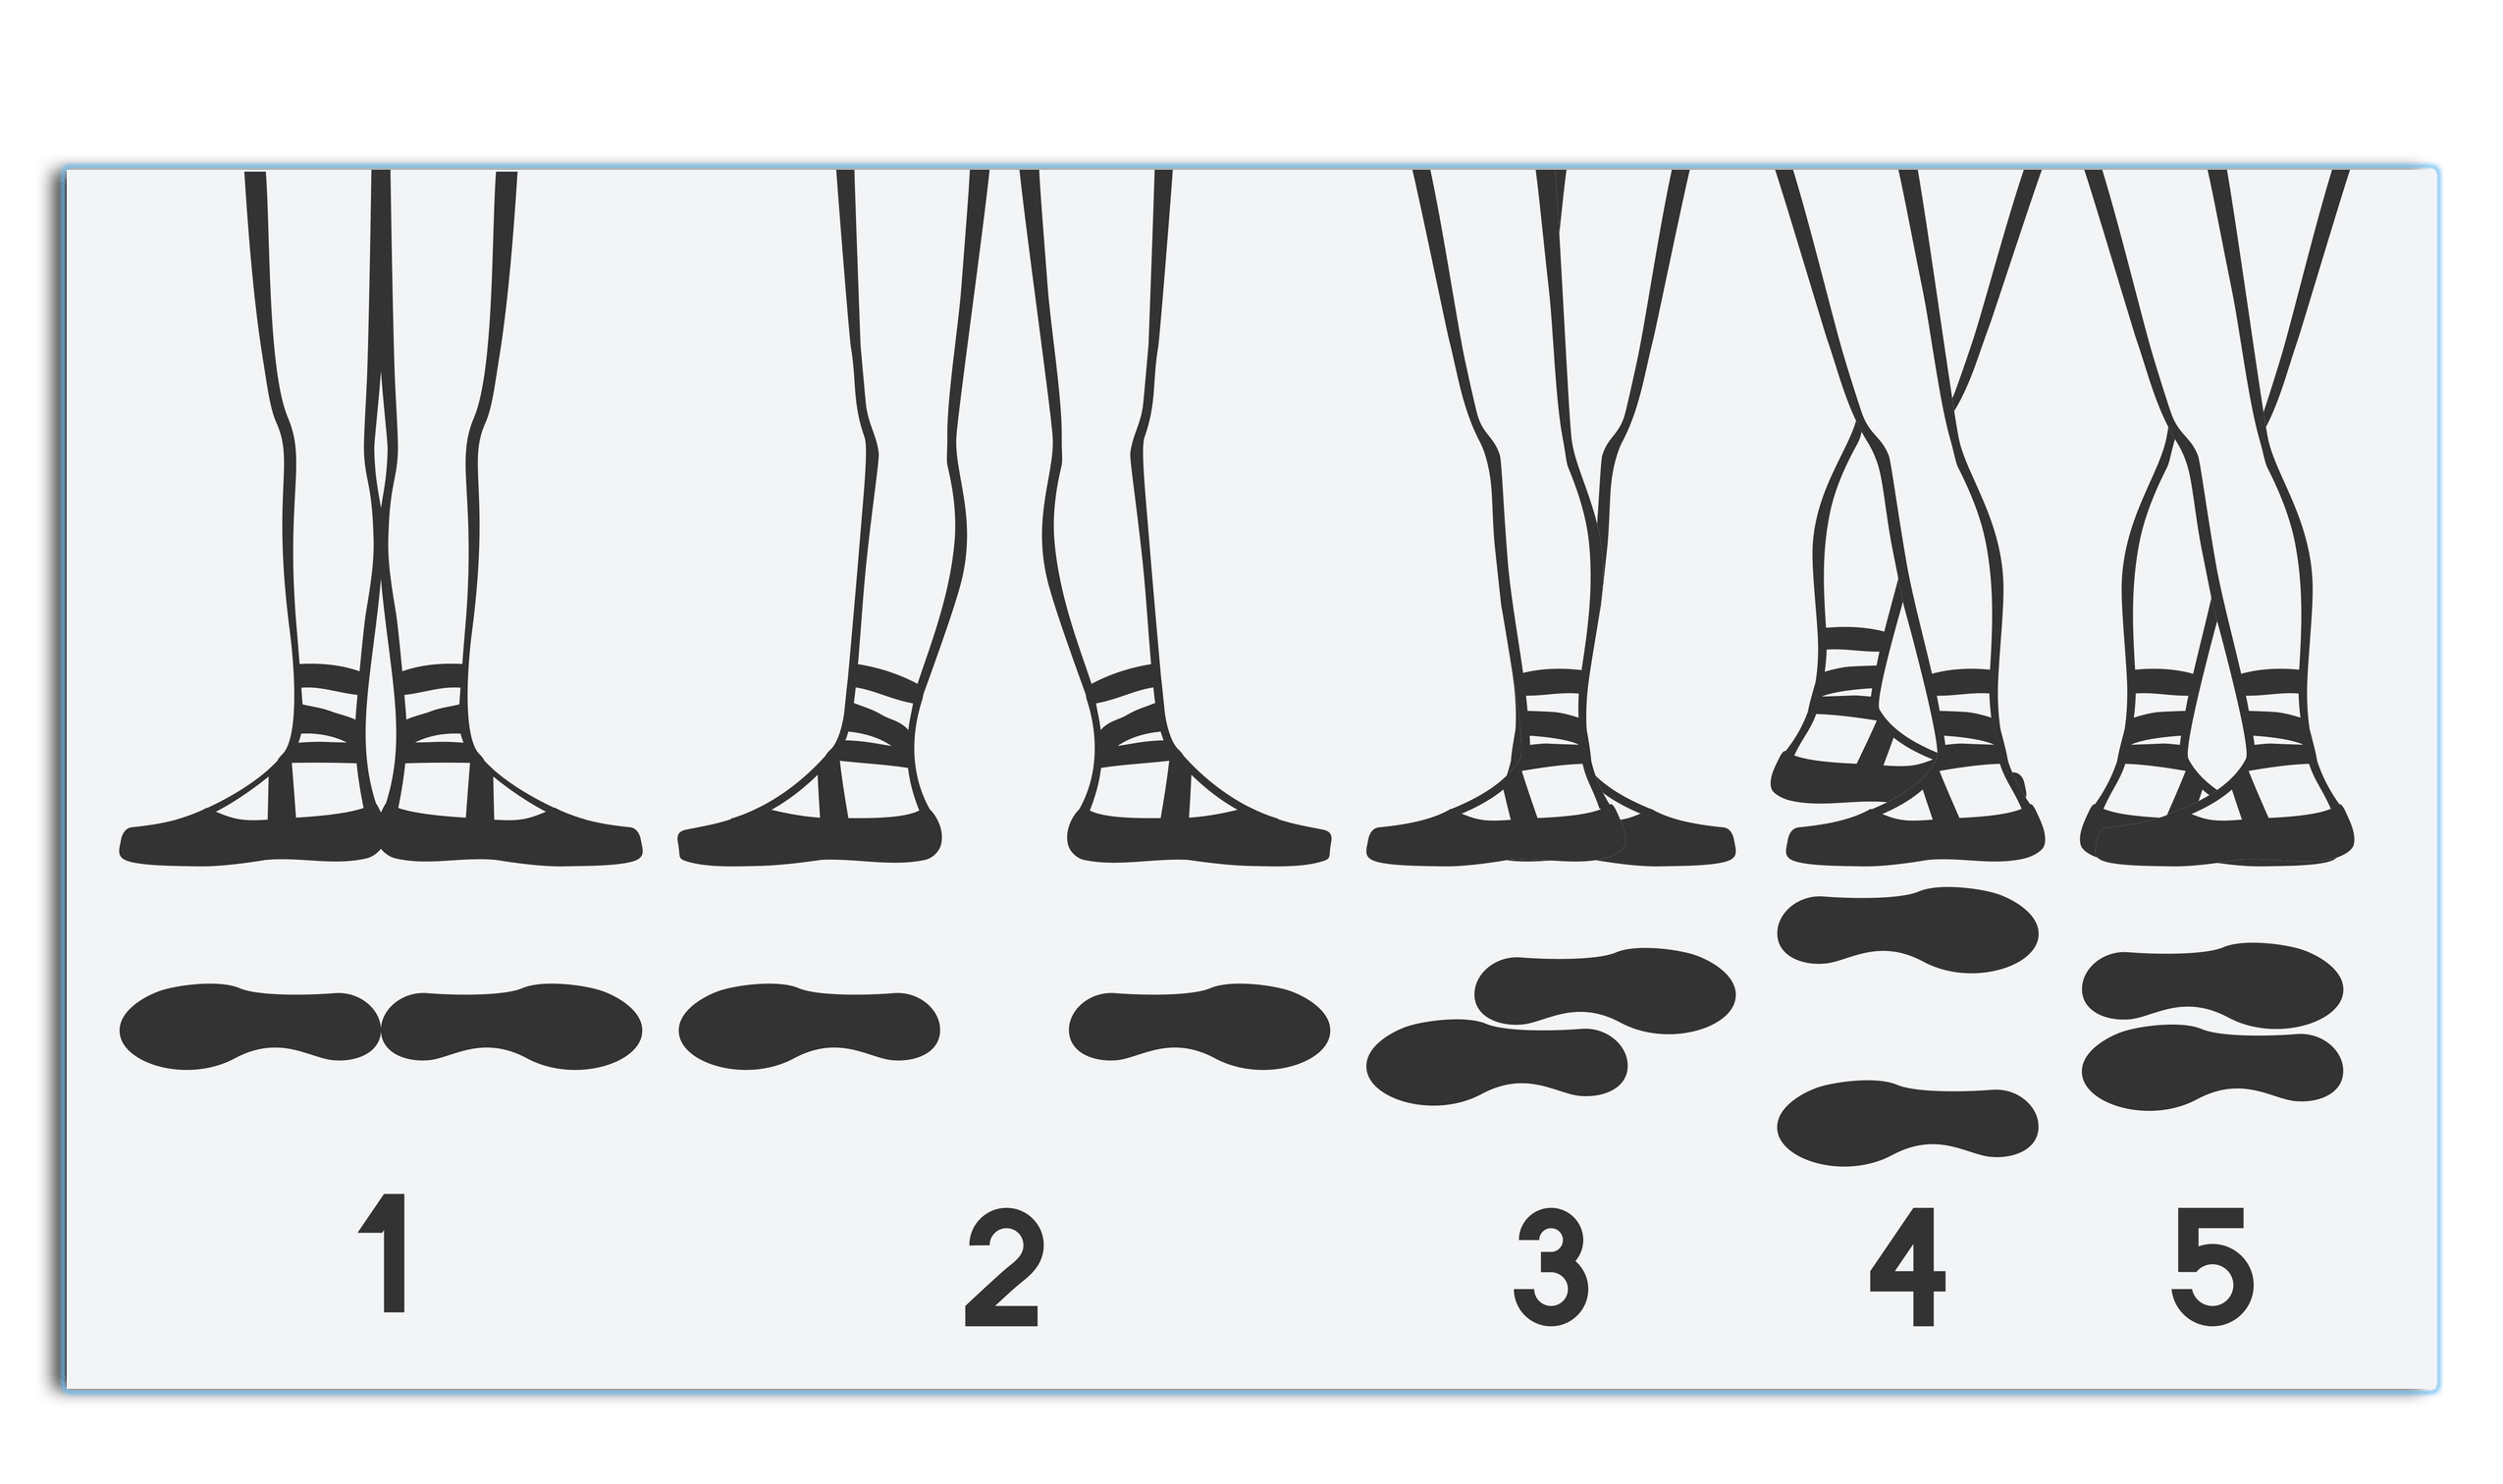
First Position
Begin with your legs parallel and your feet together. With your heels touching, laterally rotate your legs from your hip joint.
Second Position
Begin in First Position. Separate your heels one foot apart. Ballet instructors will assist their students in finding the healthiest and most appropriate position to suit individual needs.
Third Position
Cross one foot in front of the other, placing the foot in the middle of the other foot. Balance your weight evenly on both feet.
Fourth Position
From First Position, cross one foot in front of the other about one foot apart. Align your heels with your big toes, maintaining excellent lateral rotation.
Fifth Position
From Fourth Position, bring your feet together. Align your heels with your big toes. Balance your weight evenly on both feet. Maintain your lateral rotation from your hip joints.
Keys to Choosing the Right Dance Studio for your Child
If your child loves to move to music, enrolling them in a dance class seems like a great idea. However, with so many studios to choose from, it can be daunting to decide which studio is the best fit. Below are a few things to help you narrow your search.
Location
Obviously, choosing a studio close to your home is helpful, especially if your child would like to take more than one dance class per week. If there is more than one dance studio in your neighborhood, how do you know which would be the best fit for your child?
A few questions to ask are:
- Do you see your child pursuing dance professionally or recreationally?
- Is the studio competitive or promote competition teams?
- Are the instructors professional and educated?
- Are there performance opportunities?
- Does the studio offer drop-in classes or full semester packages?
Professional versus Recreational track
Children who are interested in pursuing dance professionally will need to dance several days per week. This requires a financial and time commitment from parents. To give you an idea, as a former professional dancer, by the time I was in high school, I took 13+ classes per week.
However, if your child wants to learn to dance for fun and fitness, once a week is fine. As I mentioned in other articles, dance has many benefits including physical/mental well-being, creative/self-expression, body positivity, and helps develop healthy lifestyle choices.
Competitive versus Non-competitive Environment
Dance competitions are very popular and I do believe there is a healthy way for children to participate in competitive dance. I competed as a child and have also judged dance competitions. I have also seen the best and the worst of the dance competition world. Stay tuned for my blog on Dance Competitions.
Here is my advice for competitive dance parents:
- Choose a studio that’s focused on professional training, meaning the children are taking quality dance lessons, not just running competition routines.
- The atmosphere at the studio should be upbeat and supportive. No exceptions! If there is a lot of drama amongst the instructors, students or parents, leave!
- Save your money and choose one or two competitions to participate in. Also, limit the number of dance routines your child performs in.
- If your child is considering a professional career, go to the competitions and conventions where they could perform for industry professionals.
- Lastly, you do not have to compete in dance competitions to become a professional dancer!
Most studios offer a non-competitive, recreational dance track. The key here is to find the right class and teacher for your child. Sometimes studios put inexperienced teachers on these classes. My advice is to make sure the studio has a professionally trained teacher on all classes, regardless of the track. A non-competitive environment suits many sensitive, young artists and creates a space where all children can thrive.
Instructors
When looking for a dance instructor, education, experience, and training are essential ingredients. Things to look for are certifications from accredited dance programs, college degrees, and professional dance experience. Theatrical unions, such as Actors’ Equity Association and SAG-AFTRA demonstrate that the instructor has performed in professional venues.
Performance Opportunities
Most studios offer performance opportunities such as dance recitals, competition teams as mentioned above, and showcases. Two things to consider are time and money. Performances require additional rehearsals for the children as well as costume fees and new dance shoes. I know some parents do not want to participate in performances, so for many reasons, it’s optional at my studio.